Guide to Turning your Writing into a Book with Print-on-Demand
Dec. 4, 2023 8:28 PM
![[personal profile]](../user.png) naivette
naivetteIntroduction
This guide is written with the intention of helping people set up their *original written works* 😉 into book formatting for print-on-demand! It won’t get into all the finer details, but it will contain enough for people to get started. This guide will be geared toward those who want to use Pixiv Factory, or Lulu Xpress, though some of the details should be universally applicable.
There is also another excellent guide by the bookbinding community here for formatting and binding your own book by hand! It’s an excellent reference.
Formatting Inner Material
In Book-making terms, inner material is basically all the pages that go on the inside of the book. You don’t need any fancy tools to format your writing, regular microsoft word or libreoffice writer will do.
Page Size
The first step in creating the inner material document is to pick the size of the book.
Pixiv Factory Sizes | Lulu Xpress Sizes |
A4 8.27 x 11.69in | A4 8.27 x 11.69in |
A5 5.83 x 8.27in | A5 5.83 x 8.27in |
A6 4.13 x 5.83in | Digest 5.5 x 8.5in |
B5 (these aren’t exact) 6.9 × 9.8in | US Trade 6 x 9in |
B6 (these aren’t exact) 4.9 × 6.9 in | Pocket Book 4.25 x 6.875in |
| Comic Book 6.63 x 10.25in |
| Novella 5 x 8 in |
|
This is really simple, just make sure to change the page size BEFORE you start pasting in text and manipulating it.
In Libre Office, this is how you change the page size. Note that there’s an option under size that you can select A and B sizes, as well as common U.S. paper sizes as well.
In Word, this is how you change the page size. You can select common page sizes here as well.
Paste in the Content
The next steps are to copy content from wherever it’s posted, into the document. If you’re writing in a google doc, then you can use AO3 to remove the the extra spaces really easily
How to remove extra spaces:
- Copy google doc text
- Paste in AO3’s rich text editor
- Switch AO3 editor to HTML
- Copy all the html stuff INTO wordpad
- Highlight <p> </p>
- Click the “replace” option
- Don’t enter anything into the “with” field
- Hit okay
- Copy the html back into AO3’s html editor
- Switch back to Rich Text
- Copy the final text wherever you need it.
Margins
Margins will depend on the font size and page size. In general, you want the inside margins of the book pages to be wider than the outside of the page, since the spine’s binding will obscure some of the page.
I normally set the top, bottom, and outside margins to be .50, and the inside margin between .50 to .80 depending on what I need. Depending on the size of the book, bigger margins may be necessary, but this can be checked during the proofing process.
Spacing
Make sure the line spacing is set to SINGLE. If the lines still look far apart (damn you google docs), check the paragraph and spacing options to make sure that the “Above Paragraph Spacing” and “Below Paragraph Spacing” numbers are set to 0.00.
First Line Indents
The easiest way to get a nice first line indent is to go into the paragraph formatting options, and look for the Indents and Spacing options, and then look for “First Line Indents”. Pick any number that looks pleasing on the page. If the indent is too big, decrease the number.
Headers/Footers/Page Numbers
Make sure to add these in too! Page numbers are incredibly important since the printer won’t know what order the pages are supposed to go in if you don’t. Most printers refuse to print things if you don’t have page numbers.
End Material for Pixiv Factory
Pixiv Factory also requires that you include certain information in a colophon, such as:
Date of issue
Author
Printing company name (pixivFACTORY)
Publication date: The date when the book was completed and handed over to the public.
Printing company name: Please write "pixivFACTORY".
Contact information: Enter your e-mail address or website address.
The field names need to be in Japanese (see link above) but the actual text (your name and details) can be in english.
Export to PDF
Once everything is formatted all nicely, the last step is to export to PDF. Both LibreOffice and Word have a method of doing this directly.
Upload to Printer
Now that the inner material is all formatted, the next step is to upload to the website! The process is a little different for each one.
Pixiv Factory
I used chrome to auto translate all the text in this section.
Steps:
- If you don’t have a pixiv account, make one (english one works fine), and then use that to register for pixiv factory.
- Click on “Upload Manuscript” or go to https://factory.pixiv.net/books/books/new?single_lot=1

- Select your book specifications (size, number of pages, monochrome or color, and binding direction (left will be like western books, right for japanese books)
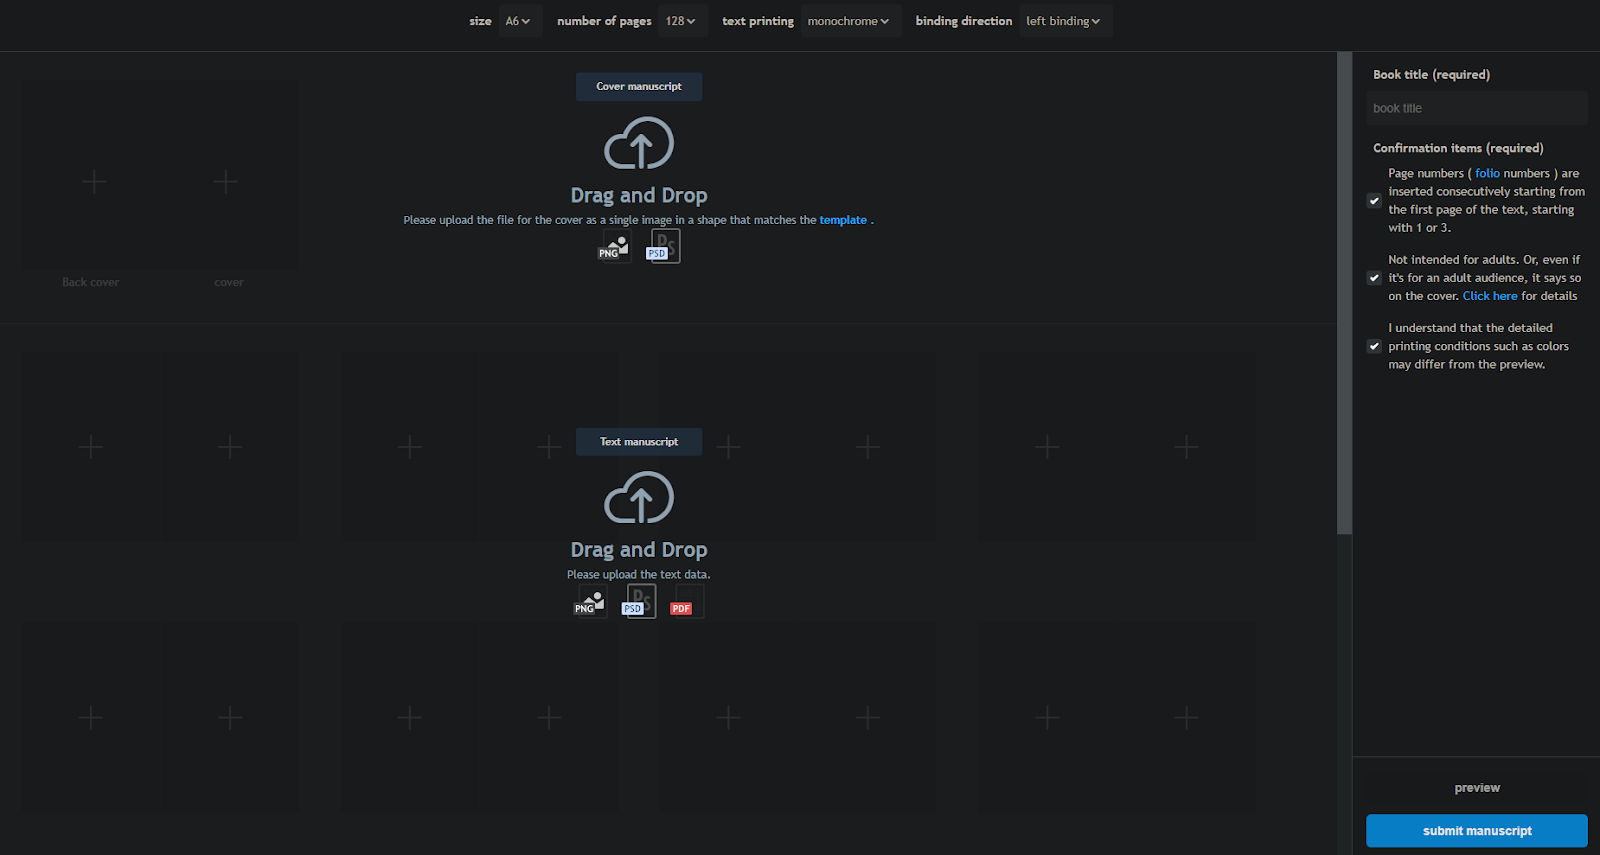
- Next, you can drag and drop or upload your manuscript/inner material.
- The page count needs to EVEN, and also add 4 to your actual number.
- Example: If your book is 23 pages long, go back into the document and add an extra page to make it 24 pages even.
- THEN select 28 pages.
- The reason for this is that Pixiv Factory is counting the cover as 2, and 2 extra for padding the cover.
- At this point, you can download the cover template, make a cover, and upload it on this same screen. (see Cover Design Section below)
- Enter in your book title, check each box, and then hit preview.
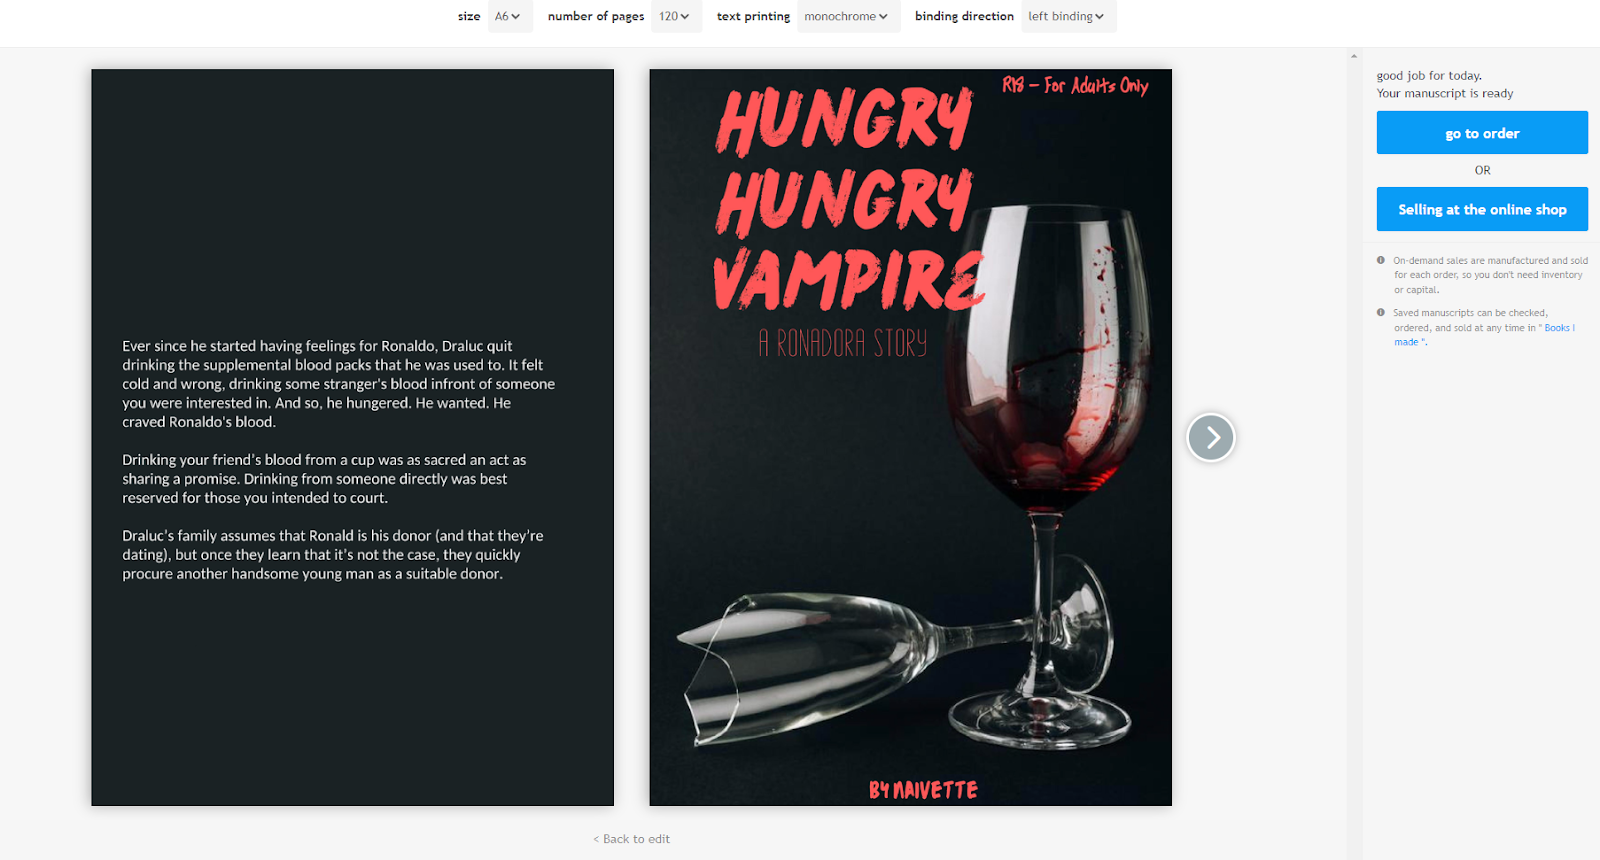
- After the preview finishes loading (it takes a long while), you can view your proof
- Check to make sure everything looks okay, then you can hit “submit manuscript”
- You’re done uploading to the printer!
- You should arrive at a page that kind of looks like this (more on this later)
Lulu Xpress
Uploading is a lot simpler on Lulu Xpress since everything is in english. Just upload your file, and it should automatically detect what size your book is, and how many pages it has. You can then make your specifications as to what you want the book to be.
Cover Design
This section depends on which printer you’re going with.
Pixiv Factory
For Pixiv Factory, you need to make sure things are sized correctly. The easiest way is to download their PSD templates from HERE and then overlay your images on top in your art program of choice, like Photoshop, Krita, or Clip Studio Paint.
The nice thing about this template is that the inner lines tell you how big the spine is going to be, depending on the amount of pages. This means that if you want to add a title to the spine, following these guidelines will easily get your title centered properly, even with a thin book.
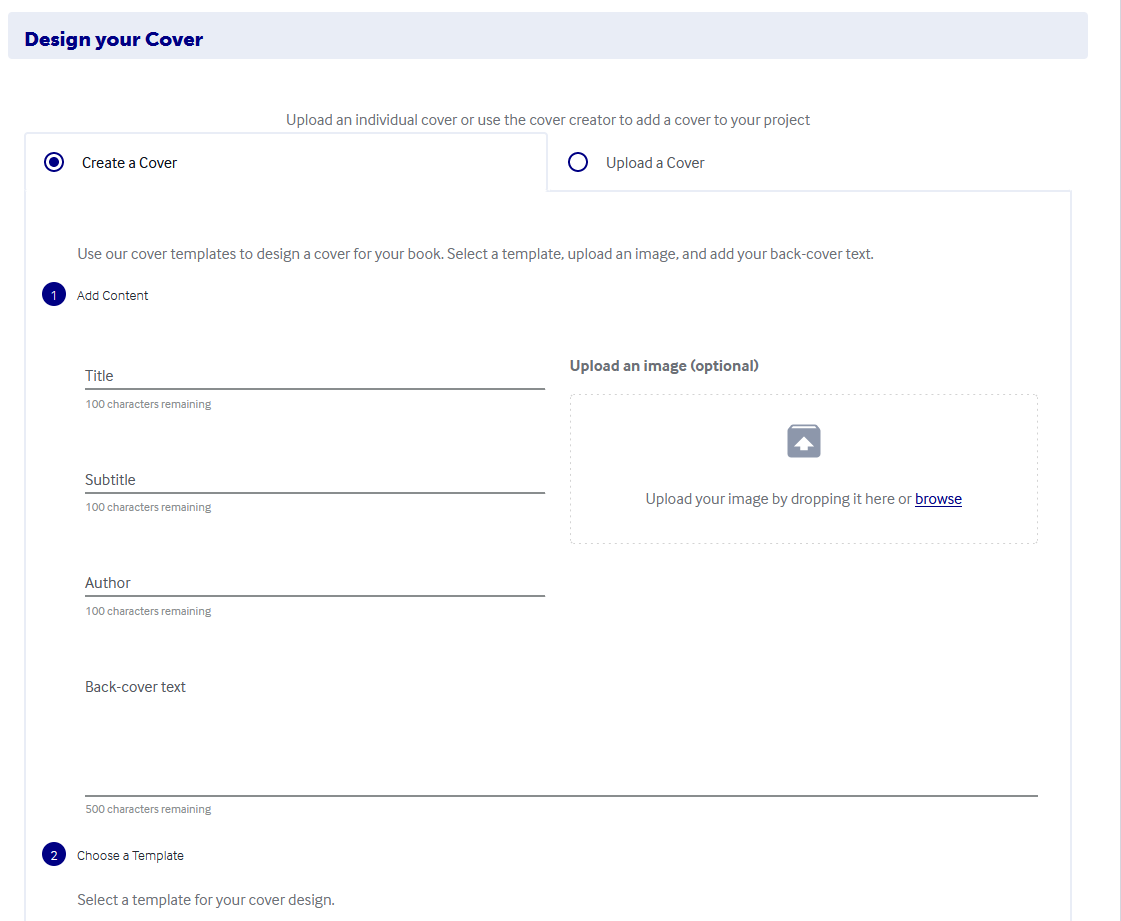
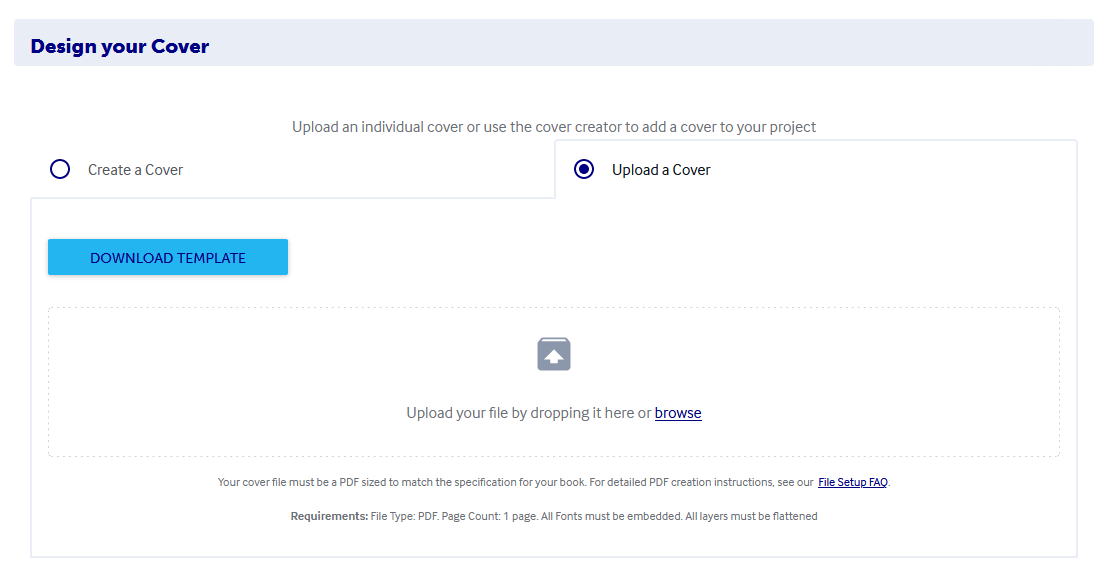
Lulu Xpress
Lulu has the option to either upload an image and just type in the information you need, or download a template that is automatically sized to your book, and then add your own art and text.
Buying your Book
Pixiv Factory
This is where things can get complicated. Pixiv Factory doesn’t allow international shipping, but Pixiv Booth does! Otherwise, If you have a Tenso/proxy forwarding service account, you can order your own copy from this screen:
Tenso/Forwarding Service Path

Click the “Go to Order” button

Click “order a print”
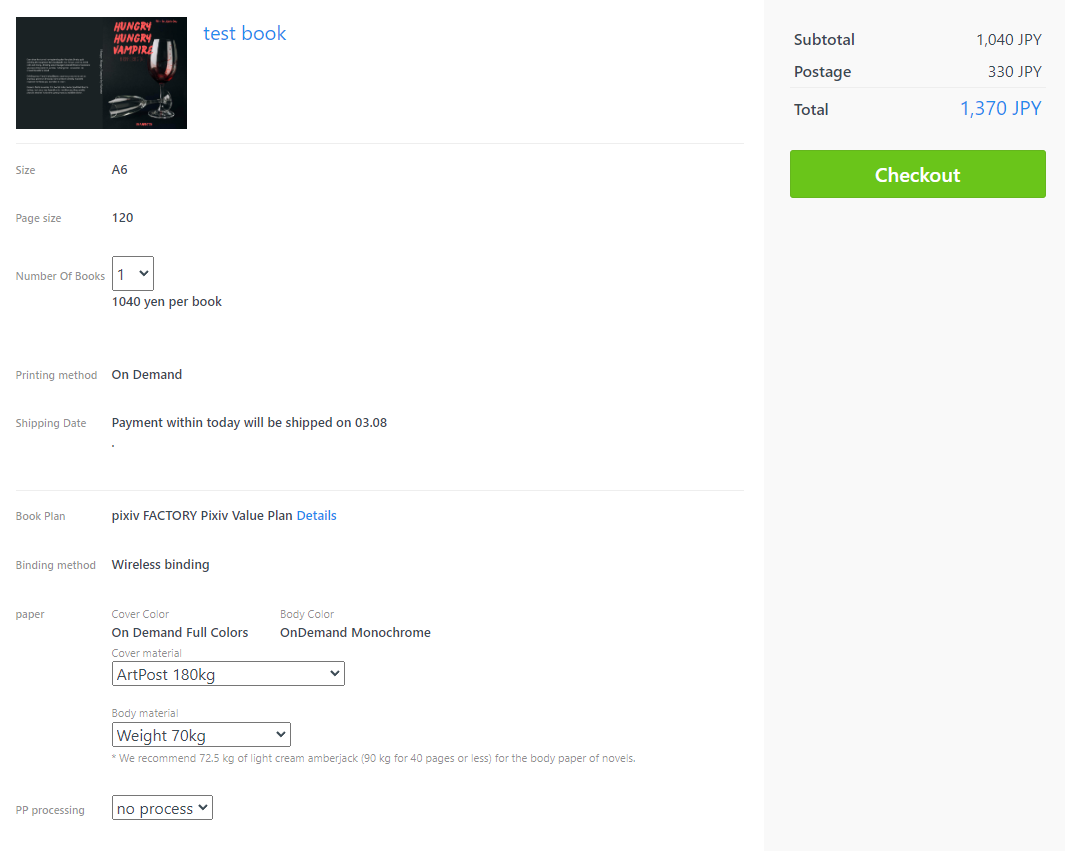
Select your paper types in the dropdown, then click checkout
Enter your Tenso/forwarding service address and credit card details, and finish paying!
If you don’t have a Tenso address, or other forwarding/proxy service:
Buyee/Booth.pm route
You need to set up a booth.pm shop. You should already have a pixiv account, so just set up a booth shop using the same login. Make sure to setup payout settings to your own paypal account.
Then, starting from this page (or go to https://factory.pixiv.net/books/books if you clicked off by accident):
Click “Selling at the Online Shop”
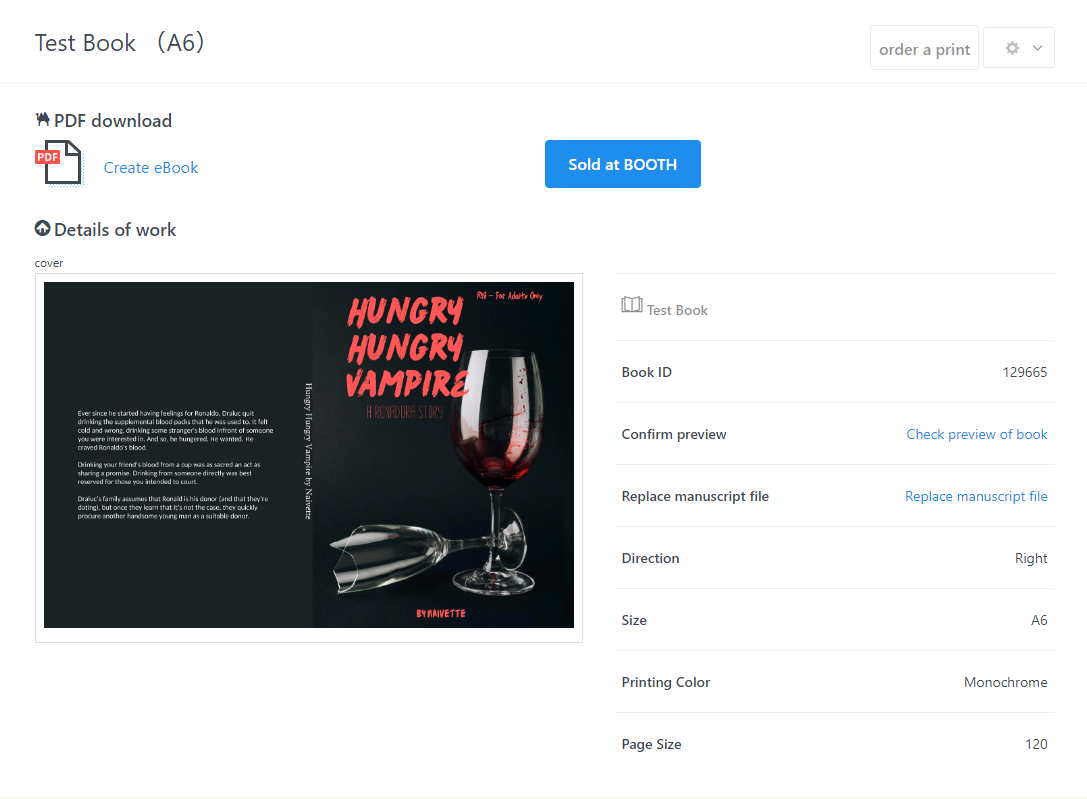
And you’ll arrive at this page. Click “Sold at Booth”, and you’ll arrive at this popup:
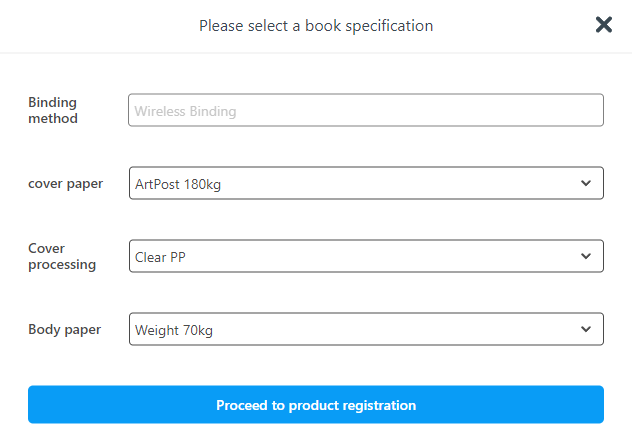
Chose your paper types and cover gloss option, then click “proceed to product registration”
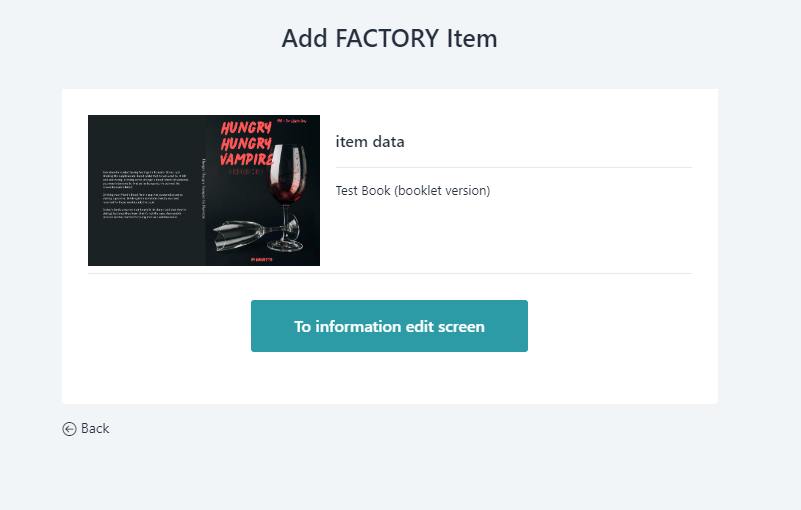
Click “To information edit screen”
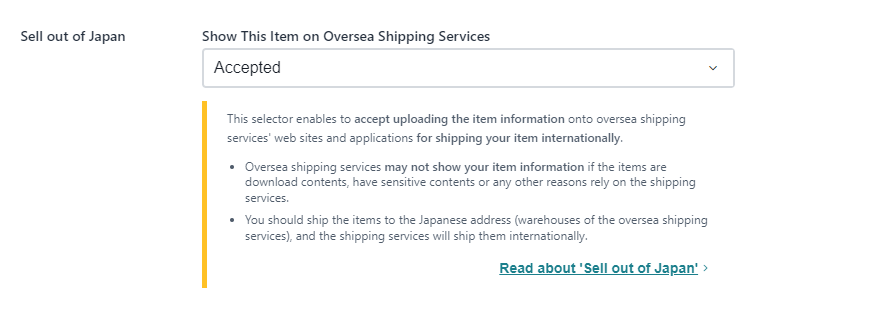
You’ll be taken to the booth.pm item screen for your store. Enter in some metadata (title, description, etc.). Make sure to select “Accepted” for “Sell out of Japan” to enable Buyee ordering. You can set your margin to whatever you want, but since you’re ordering it yourself, just set it to zero for now.
Publish the item for sale! Then go to your own booth store page, go to your item, click “Add to cart”. On the cart page, there will be an option to “checkout via buyee”.
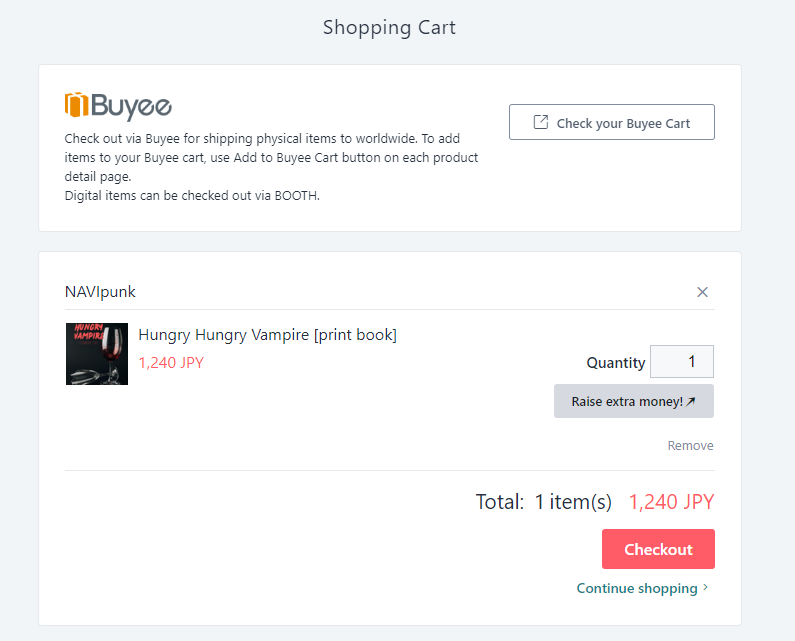
Fill out your payment details with buyee, and you’re done! Buyee will order your book, and then charge you another fee to ship it to you after they receive it, like any other proxy/forwarding service.
Lulu Xpress
After you’ve finished uploading and checking the proof of the cover and inner material, you can directly click “Add to Cart”, and purchase your book. Congratulations!!